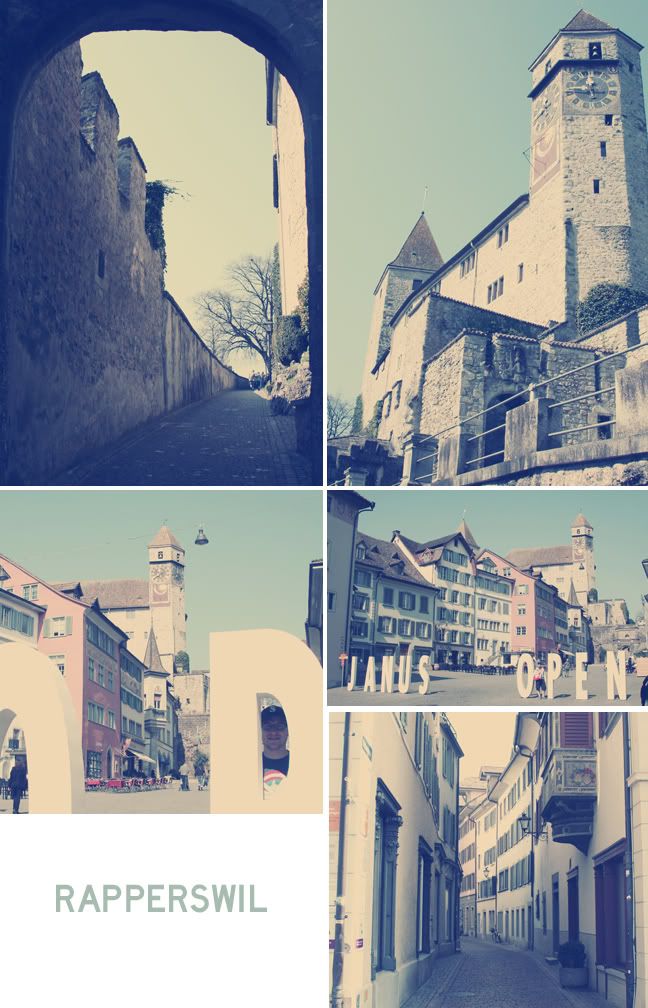
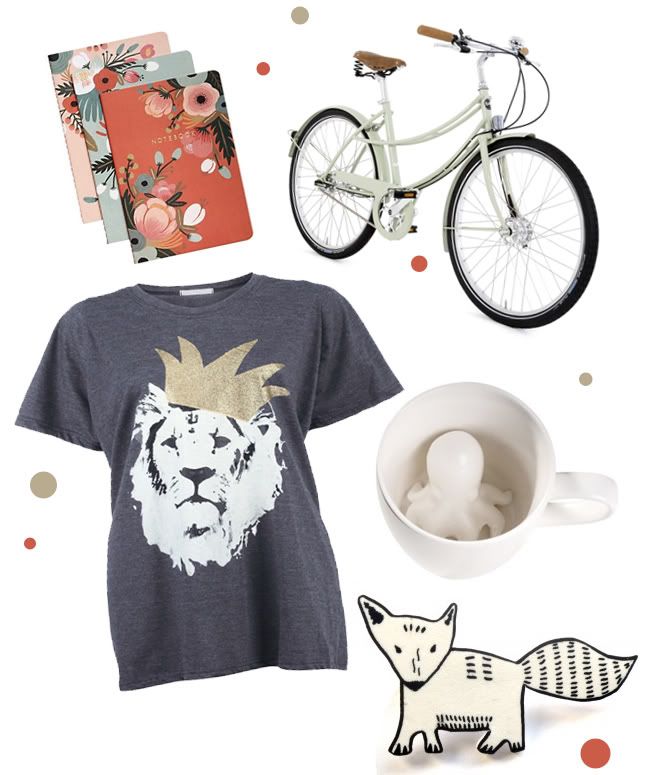
I wanted to share how I make my blogposts/collages here on All Things Lovely. This may be something you already know how to do or are not interested in, so then skip it. This is for someone who needs help and this is a step by step process for you who needs it. Even if this just helps one person it would be worth it.
I have Photoshop CS3{so not the most current} and a little older Macbook Pro so these are the steps that work with those, I am not sure if these steps would have changed with Photoshop since, but my guess is they are the same and these tips will still apply. I highly recommend as a blogger that you have Photoshop...Photoshop is actually great for more than just blogging, obviously, so you really should get your hands on it. You can get Photoshop cheaper as a student and that is how you should buy it, if you are not a student get a student you know to get it for you.
I made these tutorials a few months ago, so the original posts for these images have long passed.
The original post for these photos can be found, here.
Collage #2
Original collage, here, which is a bit different than the one I made for you in the tutorial.
These tutorials, I hope are helpful even though they may have been slightly boring. There may be other ways of doing collages, but this is the way I do it.
I held my camera with one hand so sorry at times they were a little crappy and shaky. And it's weird talking to myself even though I really tried pretending I was talking directly to you.
If you have any questions, feel free to ask!
More important blogging tips, HERE.
>>>M


3 comments:
This is incredibly helpful. I've been wanting to know how to do this all summer! I have CS5 but I'm going to see if I can make this work. Thanks alot. Hopefully this fall they'll be more collages.
like.
thanks for sharing!!
Post a Comment